


Description
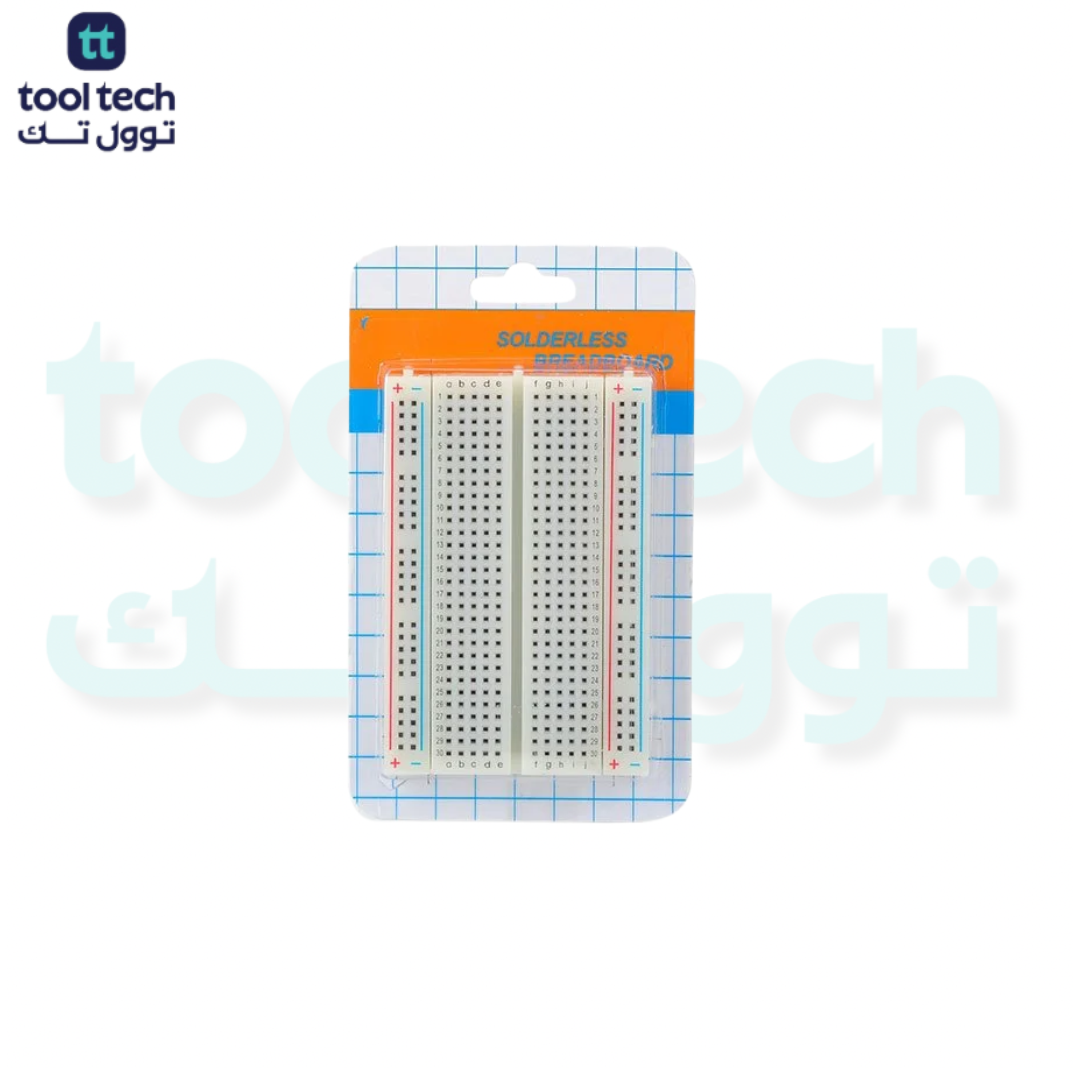
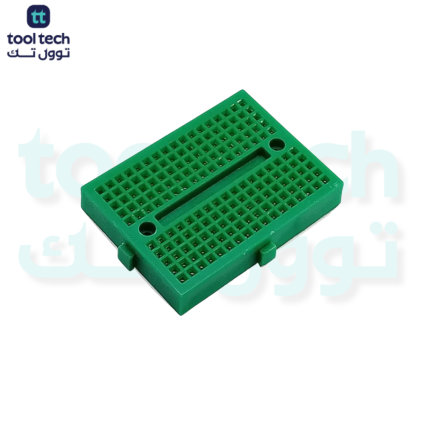
Mini Breadboard – 400 Tie Points
The 400-Point Mini Breadboard is the quintessential tool for electronics hobbyists, students, and engineers. Its compact, adhesive-backed design makes it perfect for portable projects, sensor testing, and final-stage circuit integration where space is at a premium.
Technical Specifications
| Feature | Specification |
| Total Tie-Points | 400 |
| Configuration | 300 terminal points + 100 power distribution points |
| Dimensions | 8.2cm x 5.5cm x 0.85cm |
| Material | White ABS plastic (housing), Phosphor bronze (contact clips) |
| Adhesive Backing | Included (allows for mounting to enclosures or project boxes) |
| Interlocking | Yes (sides have slots to snap multiple boards together) |
| Wire Compatibility | 20–29 AWG (Solid-core wire recommended) |
Key Features
-
Modular Design: Each board features interlocking tabs, allowing you to “snap” multiple 400-point breadboards together to expand your workspace as your project grows.
-
Compact Footprint: Ideal for small-scale projects using a single microcontroller or a handful of discrete components. It fits easily into small project enclosures.
-
Peel-and-Stick Backing: The underside features a high-quality adhesive tape, allowing you to permanently mount your circuit inside a project box or onto a chassis once the testing phase is complete.
-
Standardized Layout: Features two side power rails and a central terminal area, perfectly suited for standard DIP (Dual Inline Package) integrated circuits.
Best Practices for Use
-
Solid-Core Wire Only: To ensure the longevity of the internal nickel-plated spring clips, use 22-24 AWG solid-core jumper wires. Avoid stranded wires, as they can cause “burrs” that damage the contacts.
-
Component Insertion: When inserting sensitive components like microcontrollers or sensors, ensure they are aligned correctly. Applying excessive force at an angle can bend the internal clips.
-
Clean Leads: If you are reusing components that were previously soldered, ensure there is no residual solder on the leads before inserting them, as this can degrade the spring contact.
-
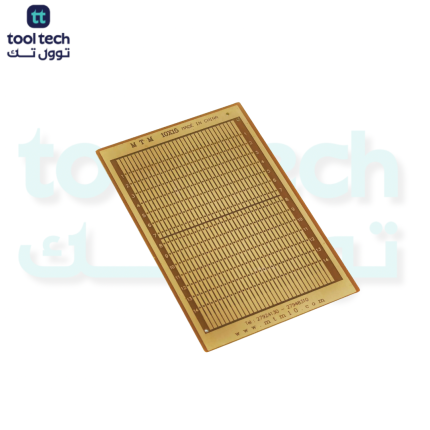
Avoid Soldering: Never apply a soldering iron to the breadboard. If you need to combine components, perform the soldering on a piece of perfboard or a breakout board first, then plug the finished assembly into the breadboard.
















Reviews
There are no reviews yet.